How to Tie Dye (step by step)
Today I'm going to teach you guys how to tie dye step by step. If you haven't seen my last blog post go check that out to see the materials you need. Now that you have all your materials you are ready to start the tie dyeing process. The first step is setting up your space. Get all your materials and put them down where you are going to tie dye. When your making your tie dye bottles, follow the instructions on the dye packets.
The second step is to wet your fabric with water and wring it out. Pick the the design you want to do with your fabric and use your rubber bands to make that design.
The third step is to use your dye bottles and go crazy! Use the colors you have and create your masterpiece.
The fourth step is to take either your saran wrap or ziploc bag and leave your Tie Dye in the bag or wrapped in saran wrap for around 24 hours it doesn’t have to be exactly 24 hours, but at least overnight.
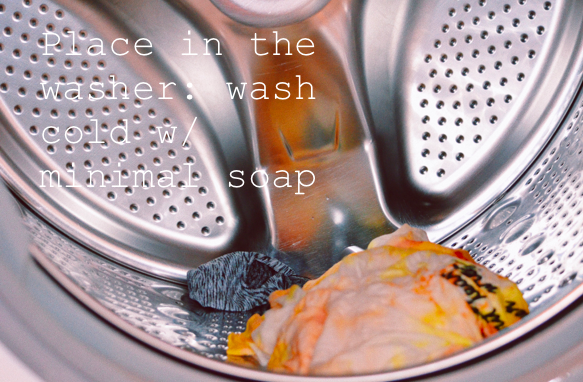
unwrap or open your tie dye, and take off the rubber bands. Hopefully you love your piece. Place in the washer and wash on cold with minimal soap. Dry normal. Your done!
Hopefully everything worked out as you planned and have fun with your new Tie Dye Piece!


